Repairing a DC-in jack on a laptop requires careful disassembly, soldering skills, and attention to detail. Here’s a step-by-step guide:
Tools Needed:
- Screwdriver set (matching your laptop’s screws)
- Soldering iron and solder
- Desoldering pump or braid
- Multimeter
- Replacement DC jack (compatible with your laptop)
- Plastic pry tool
- Tweezers
Steps:
- Backup Your Data & Safety Precautions:
- Backup important data from your laptop.
- Disconnect the laptop from the power supply and remove the battery if possible.
- Use an anti-static wrist strap to prevent electrostatic discharge that could damage components.
- Disassemble the Laptop:
- Refer to your laptop’s service manual for disassembly instructions.
- Carefully unscrew and remove the back cover. Take note of where each screw goes, as they may vary in size.
- Disconnect the battery if it hasn’t been removed already.
- Disconnect any cables or components that obstruct access to the motherboard.
- Access the DC Jack:
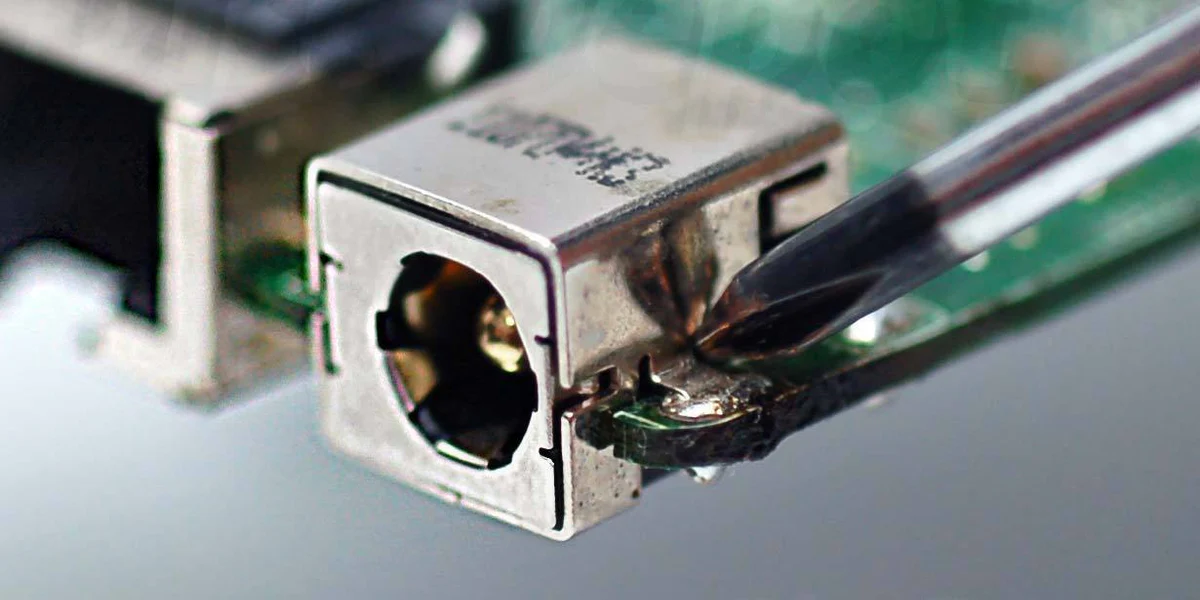
- Once you’ve exposed the motherboard, locate the DC-in jack.
- The jack may be mounted directly on the motherboard (soldered) or connected via a cable.
- Remove the Old DC Jack:
- If the DC jack is soldered to the motherboard:
- Use a soldering iron to heat the solder joints holding the DC jack.
- Use a desoldering pump or braid to remove the molten solder.
- Carefully pull out the DC jack from the board once all joints are free.
- If it’s a cable-based DC jack, simply unplug it.
- If the DC jack is soldered to the motherboard:
- Install the New DC Jack:
- For a soldered jack:
- Place the new jack in position, ensuring that its pins line up with the holes.
- Solder the pins to the motherboard. Be sure the solder joints are shiny and secure but avoid using too much solder, which could create a short circuit.
- For a cable-based jack, simply connect the new cable in place of the old one.
- For a soldered jack:
- Reassemble the Laptop:
- Once the new jack is installed, reassemble the laptop in reverse order.
- Be careful to reconnect all cables and components properly.
- Testing:
- Plug in the power adapter and check whether the laptop is charging.
- Use a multimeter to confirm continuity on the power jack if needed.
Tips:
- Use the Right Replacement Part: Ensure the new DC jack matches your laptop model.
- Practice Soldering: If you’re unfamiliar with soldering, practice on an old circuit board first.
- Be Gentle: Laptop components are delicate. Take your time during disassembly and reassembly to avoid breaking any parts.
If you’re unsure about any step, consider consulting a professional repair technician, as improper handling could damage the motherboard or other components.


