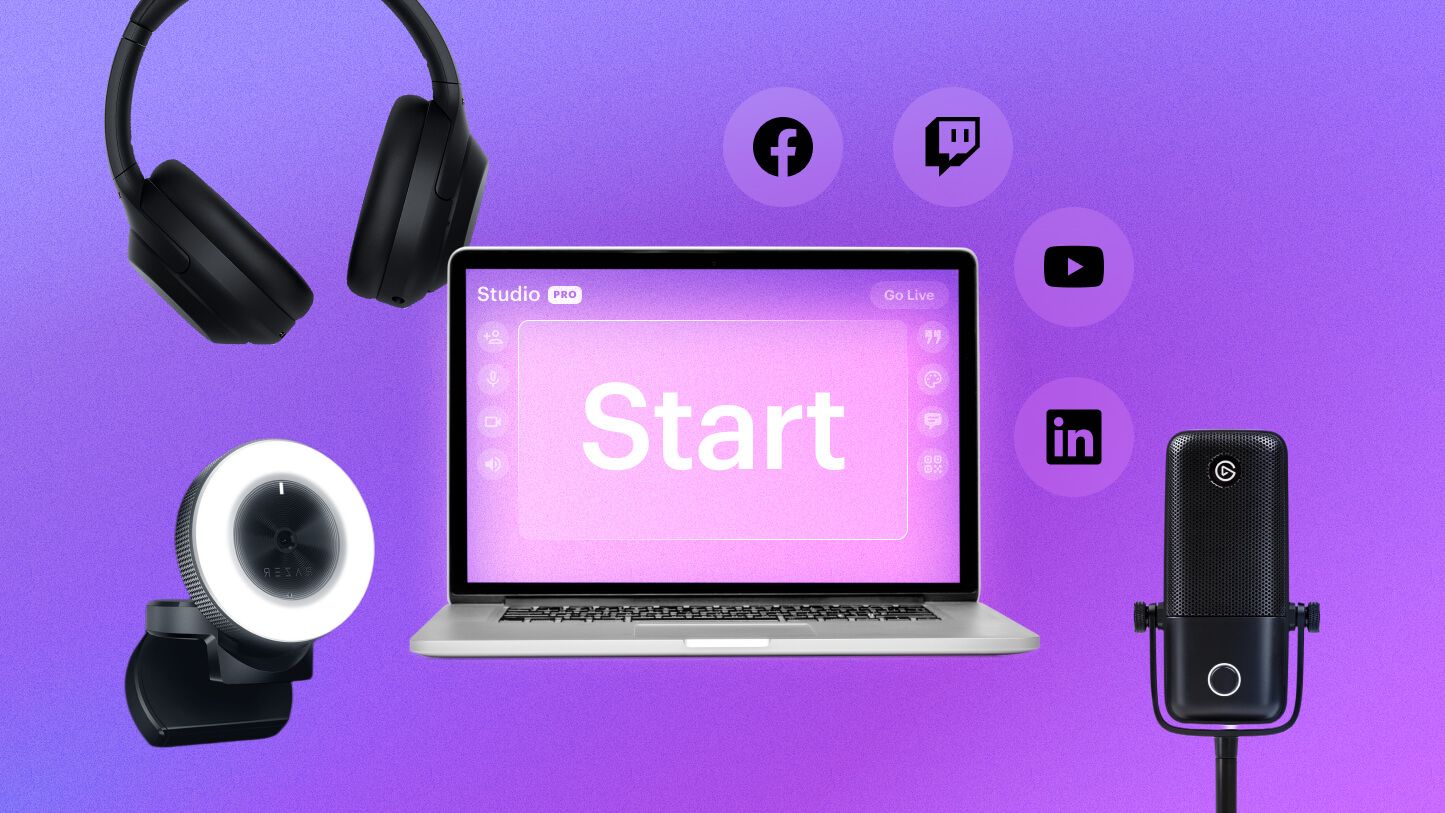
Setting up a game streaming setup at home requires a few key pieces of equipment, software, and configuration steps to ensure high-quality streaming and a smooth experience for both you and your viewers. Below is a step-by-step guide to help you get started with game streaming:
1. Choose Your Streaming Platform
Before setting up your equipment, decide on a platform to stream on. The most popular platforms for game streaming are:
- Twitch: Great for gamers, streamers, and a large community.
- YouTube: Offers both live streaming and video uploads, ideal if you also want to create content for later viewing.
- Facebook Gaming: A platform that integrates well with Facebook’s social features.
- Trovo: A newer platform similar to Twitch, with growing communities.
Sign up for an account on your chosen platform and make sure to configure your profile and streaming settings.
2. Hardware Setup
A powerful hardware setup is essential for smooth game streaming. Here’s a breakdown of the equipment you’ll need:
A. Computer or Console
- PC: A desktop or laptop with good specs is required if you’re streaming PC games. Recommended specs:
- CPU: Quad-core processor or better (e.g., Intel i5/Ryzen 5 or higher)
- GPU: Nvidia GTX 1060 or better for gaming and streaming simultaneously
- RAM: 16 GB of RAM
- Storage: SSD for fast load times and game performance
- Console (PS5, Xbox Series X/S): If you’re streaming from a console, you’ll need a capture card (e.g., Elgato HD60 X or AVerMedia Live Gamer). This device allows you to send your gameplay to your PC for streaming.
B. Streaming PC/Console Setup
- Dual-PC Setup (Optional): A dual-PC setup is ideal if you want to separate gaming and streaming tasks. One PC handles the gaming, while the second PC handles the streaming software, reducing strain on the gaming PC. This setup is commonly used for high-quality streams.
3. Key Streaming Equipment
- Capture Card (if using a console): If you’re streaming from a PlayStation, Xbox, or Switch, you’ll need a capture card to send the console’s video output to your PC. Capture cards like Elgato HD60 S+ are the most popular.
- Microphone: A good microphone is essential for clear audio. Options include:
- USB Microphones: Easy to set up (e.g., Blue Yeti or HyperX QuadCast).
- XLR Microphones: Higher quality but requires an audio interface (e.g., Shure SM7B with an Audio Interface like Focusrite Scarlett 2i2).
- Webcam: A webcam helps create a personal connection with your audience. A 1080p webcam (e.g., Logitech C922) is a solid choice for clear, professional-quality streams.
- Headset: For monitoring your own audio while streaming. A comfortable headset with a built-in microphone works well if you prefer an all-in-one solution.
- Lighting: Proper lighting makes a huge difference in stream quality. Consider a ring light or softbox lighting to illuminate your face, reducing shadows and enhancing video quality.
4. Software Setup
The right software helps you manage and optimize your stream. You will need software for video streaming, alerts, and overlays.
A. Streaming Software
- OBS Studio: Free and open-source, OBS is the most popular streaming software. It allows you to stream to various platforms, record your gameplay, and customize your layout.
- Set up Scenes: Scenes are different layouts, such as “gameplay” or “starting soon,” that you can switch between while streaming.
- Set up Sources: These include your game capture, webcam, microphone, and overlays. Add sources like Display Capture for PC games or Game Capture for specific games.
- Streamlabs OBS: A more beginner-friendly version of OBS with additional features like built-in alerts, overlays, and integrations with donations.
B. Stream Overlays and Alerts
Overlays add a personal touch to your stream. You can find free and paid overlays, or create your own using graphic design tools like Canva or Photoshop.
- Stream Alerts: Alerts for new followers, donations, or subscribers help engage your audience. You can set these up through platforms like Streamlabs or StreamElements. Both integrate with Twitch and YouTube to display live notifications on your stream.
- Widgets: Add widgets like recent follower, subscriber count, or donation alerts to your stream layout to keep viewers engaged.
C. Streaming Settings
- Resolution and Frame Rate:
- 1080p at 60fps is the standard for high-quality streams. If your PC can’t handle 1080p, try 720p at 30fps as a fallback.
- Bitrate: Set the bitrate to balance stream quality and performance. For 1080p at 60fps, aim for a bitrate between 4,000-6,000 Kbps. Use platforms like Twitch Inspector to test bitrate.
- Encoder:
- Hardware Encoding (NVENC or VCE): This is best for gaming and streaming at the same time. It reduces the CPU load by offloading encoding to the GPU.
- Software Encoding (x264): Use this if you have a powerful CPU, but be aware it can put a heavy load on your system.
D. Audio and Video Sync
Ensure your audio is properly synchronized with your video. Use Audio/Video Sync features in OBS or Streamlabs to adjust the timing if needed.
5. Streaming Setup and Environment
- Background: Keep your background simple, or use a green screen if you want to create a more professional look by removing your physical background.
- Environment Setup:
- Ensure you have a quiet, well-lit space for streaming. Avoid background noise and clutter that could distract viewers.
- Keep your desk organized, and check that cables and wires are neatly managed to avoid tangling and disruption.
6. Test Your Stream
Before going live, it’s crucial to run several tests:
- Stream Performance Test: Do a test stream to check how your PC handles both gaming and streaming. Look for dropped frames or lag.
- Audio/Video Check: Ensure your microphone is clear and your webcam shows up correctly. Check audio levels, making sure your game audio doesn’t overpower your voice.
- Internet Speed Test: Test your upload speed and adjust your bitrate accordingly. Aim for 5 Mbps for 720p and 10 Mbps or higher for 1080p streaming.
7. Go Live and Engage with Your Audience
Once everything is set up, you can go live:
- Engage with Your Viewers: Talk to your audience while you play. Respond to comments, read chat messages, and create an interactive experience.
- Promote Your Stream: Use social media to notify your followers when you’re about to go live. Platforms like Twitter, Instagram, and Discord are great for keeping your community engaged.
8. Continuous Improvement
- Analyze Stream Performance: After each stream, review analytics to see how your viewers engaged with your stream. Platforms like Twitch or YouTube Analytics will show you viewer count, engagement, and stream quality.
- Iterate: Continue testing new settings and equipment, and adjust based on feedback from your audience. Experiment with different streaming times, content, and style to build your audience.
By following these steps and making sure your gear and software are optimized, you’ll be able to set up a professional and enjoyable game streaming experience.

