Getting started with DIY 3D printing can be an exciting journey into creativity and innovation! Here’s a step-by-step guide to help you set up and successfully create your first 3D-printed project:
1. Understand the Basics of 3D Printing
- How it Works:
- 3D printing is an additive manufacturing process where objects are built layer by layer using materials like plastic, resin, or metal.
- Most common technology for DIY: FDM (Fused Deposition Modeling) and SLA (Stereolithography).
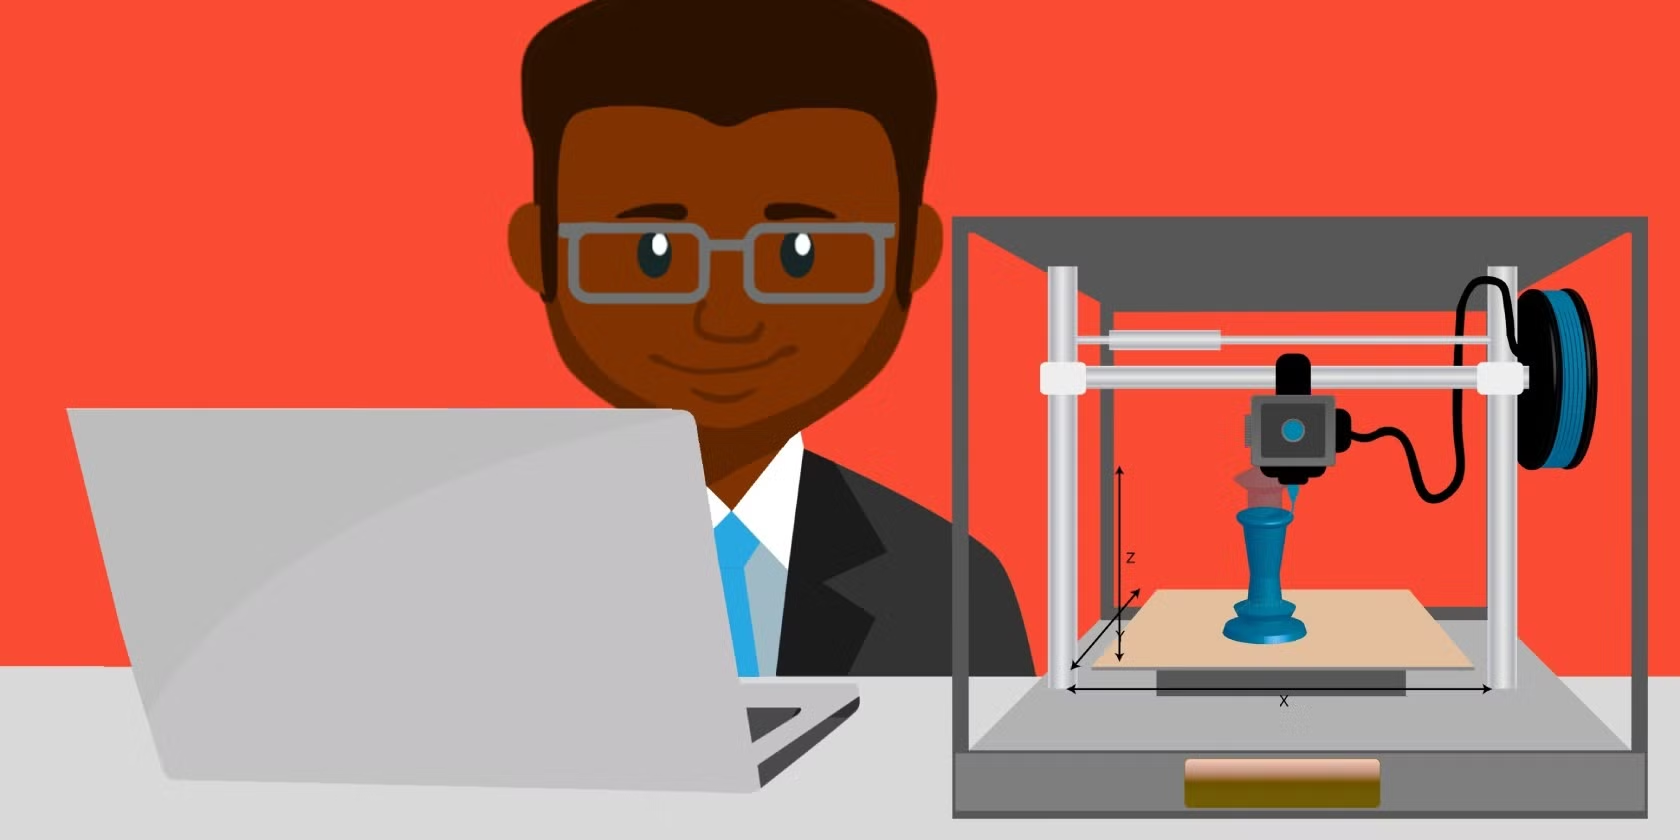
- Key Components of a 3D Printer:
- Print bed: Surface where the object is built.
- Extruder: Melts and deposits material in FDM printers.
- Filament: The plastic material used for printing in FDM.
2. Choose the Right 3D Printer
- Popular Beginner-Friendly FDM Printers:
- Creality Ender 3 Series: Affordable and versatile.
- Prusa Mini+: Reliable and excellent customer support.
- Anycubic Kobra: Known for user-friendly setup.
- For SLA Printing:
- Elegoo Mars Series: Ideal for fine detail projects.
- Anycubic Photon Series: Excellent for resin-based prints.
3. Gather Essential Tools and Materials
- Materials:
- Start with PLA filament: Easy to use and beginner-friendly.
- Explore PETG (stronger) or ABS (heat-resistant) as you gain experience.
- Tools:
- Spatula or scraper for removing prints.
- Calipers for measuring dimensions.
- Sandpaper and cutters for post-processing.
- Glue or adhesives for multi-part assembly.
4. Learn 3D Modeling and File Preparation
- Find or Create 3D Models:
- Download Free Models:
- Websites: Thingiverse, Cults, MyMiniFactory.
- Create Your Own Models:
- Use beginner-friendly software like Tinkercad (easy for newbies) or Fusion 360 (advanced design).
- Download Free Models:
- Slice the Model:
- Use slicing software to prepare your model for printing.
- Recommended Tools:
- Cura: Free and beginner-friendly.
- PrusaSlicer: Optimized for Prusa printers but works with others.
- Set Parameters in the Slicer:
- Layer height: Determines print quality (0.2mm for standard prints).
- Infill: Percentage of material inside the object (20-30% for most projects).
- Supports: Structures to stabilize overhangs (automatically generated by slicer).
5. Set Up and Calibrate Your Printer
- Printer Assembly:
- Follow the manufacturer’s manual for assembly.
- Double-check all connections and parts.
- Level the Bed:
- A level print bed ensures the first layer adheres properly.
- Use a sheet of paper or an automatic leveling system if available.
- Test Print:
- Start with calibration prints (e.g., a 20mm cube or Benchy boat) to fine-tune settings.
6. Printing Your First Project
- Start Small:
- Choose a simple object like a keychain, phone stand, or small figurine.
- Use pre-tested files from trusted sources.
- Monitor the Print:
- Watch the first few layers to ensure proper adhesion and stability.
- Troubleshoot issues like stringing, warping, or under-extrusion if they arise.
7. Post-Processing
- FDM Prints:
- Sand rough edges and remove supports.
- Paint or coat the object for a polished finish.
- SLA Prints:
- Wash in isopropyl alcohol to remove excess resin.
- Cure under UV light for durability.
8. Learn from the Community
- Join online forums and groups:
- Reddit: r/3Dprinting
- Facebook groups and local maker communities.
- Watch tutorials and guides on YouTube.
- Share your prints and ask for feedback.
9. Experiment and Expand
- Upgrade Your Printer:
- Add a glass bed, auto-leveling sensor, or better cooling fans.
- Try Advanced Materials:
- Experiment with flexible filaments (TPU) or composite materials like wood or carbon fiber.
- Explore Advanced Techniques:
- Multi-material printing, dual extruders, or creating complex assemblies.


